1% of the Appalachian Trail (by Carmen)

Appalachian Trail sign post
Fall is well under way here in NYC but here on the blog we’ve got some summer catching up to do. To take advantage of the warm summer, Nathan and I enjoyed three lovely camping trips in three different locations – one in the mountains, one on the beach and one in the woods. It had been almost two years since we had set up our tent so by Memorial Day we were ready to hike some of the mountains of the Appalachian Trail.

Excited to be hiking again
We jumped in to the first camping trip with both feet. At 20 miles in with an elevation gain of about 3,000 feet, our hike in the mountains of Harriman State Park was challenging. There were two main advantages that caused us to choose this trail. The first was that both the beginning and end were transit accessible, which made planning much easier. The second was that our route followed a portion of the famed Appalachian Trail (aka the AT). The AT stretches 2,200 miles from Georgia to Maine, meaning we we’re only tackling less than 1% of it. And given that it took me a month to walk the 500 miles of the Camino, I’m awestruck by this megatrail.

White AT blaze (photo source: Two Knobby Tires)

Trail blaze translation (source: Wikipedia)
As we began the trail, we spotted one of the telltale signs of the AT – the white blaze. Just as the Camino has its yellow arrow, the AT uses patterns of white rectangles painted on trees to let you know that you are indeed on the right path.

Nathan in the Lemon Squeezer

Orange salamanders littered the trail
A couple hours in, we found ourselves between a rock and a hard place, literally. The Lemon Squeezer is a tight squeeze for anyone and with a backpack I barely made it through! As we continued on, we marveled at the technicolor vividness of green wilderness around us. Everything glowed, especially the neon orange salamanders. The beauty of it all and the excitement to finally be backpacking again helped give us strength in our battle against the gnats and mosquito which enjoy buzzing in our ears every step of the way.

Vivid green flora
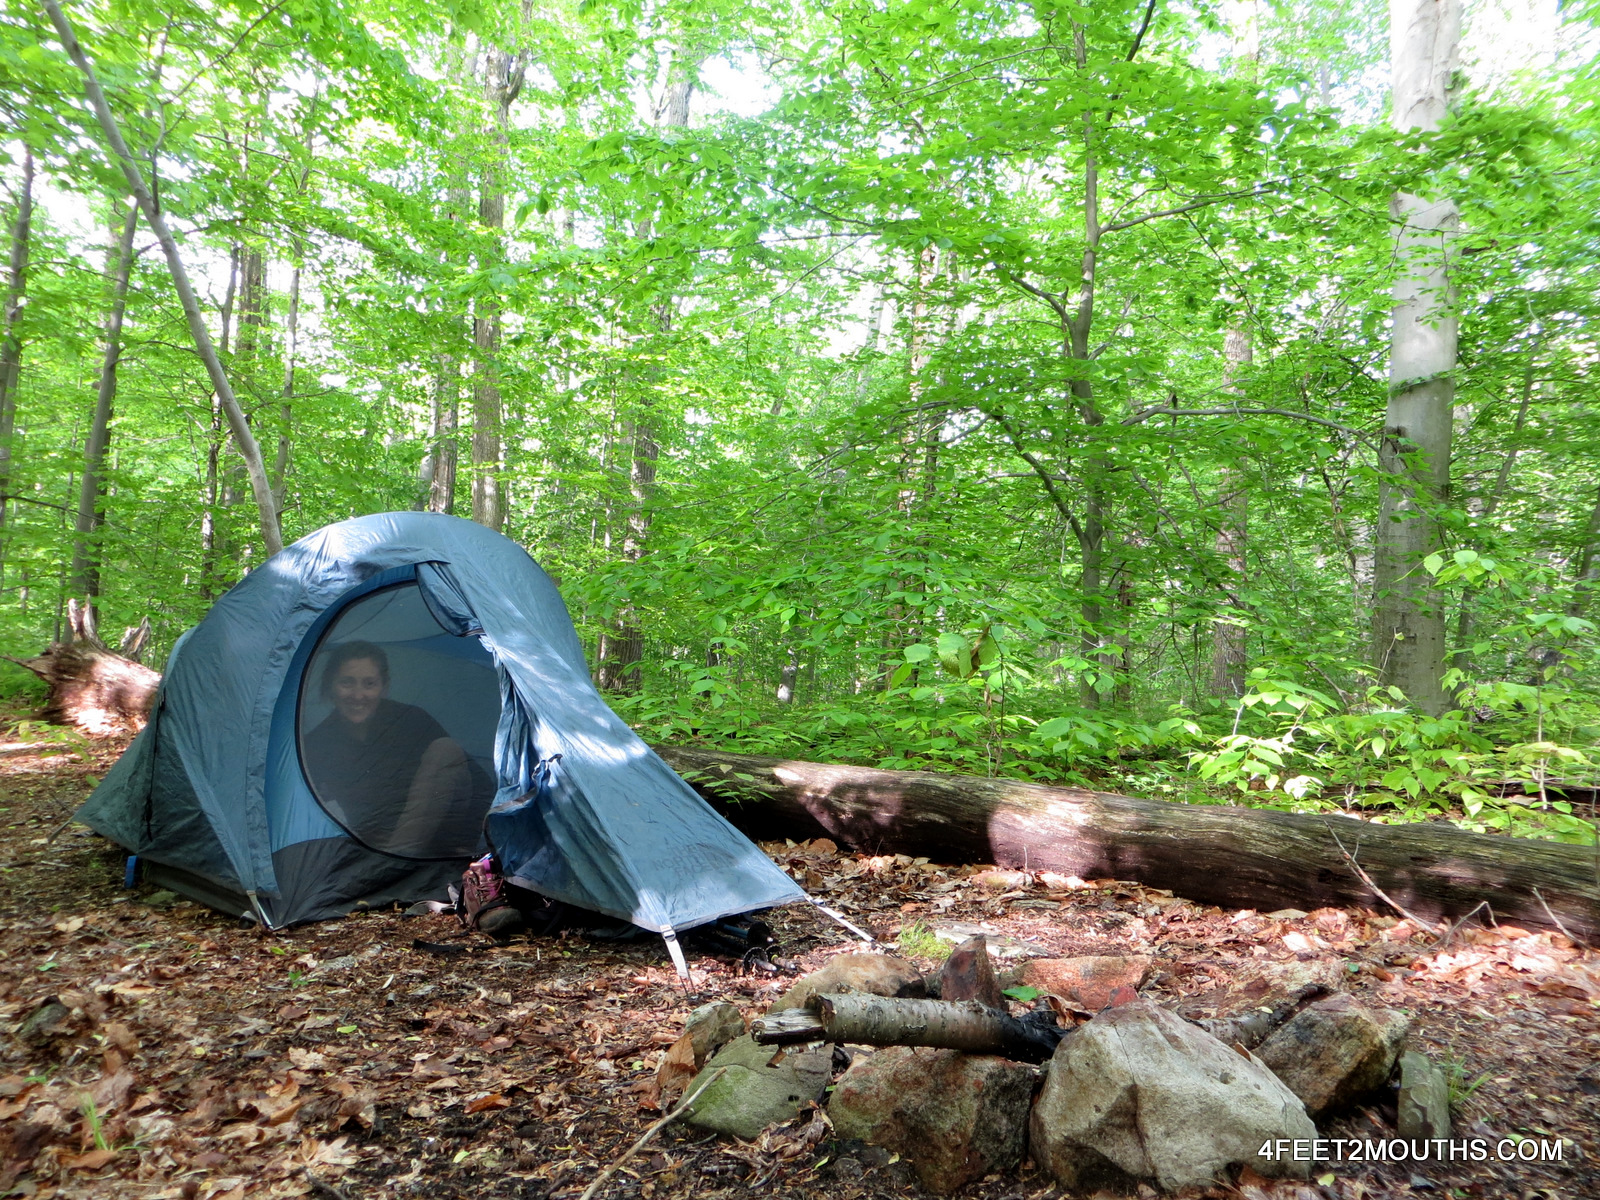
Our campsite
Along our walk we encountered a few intrepid through hikers, or people walking the trail all in one go. They were light on their feet and walked with purpose. They had commandeered the stone shelters built at intervals along the AT since many did not carry tents. While all hikers are technically supposed to stay in or near the shelter, it was far too crowded for our taste. So we pushed on and found ourselves a beautiful little clearing in a nearby valley to set up camp. After setting up our tent, I collapsed inside for a quick nap. As I gazed out the window, I could see the golden light streaming through the incredibly bright green leaves. It was beautiful. Finally, we decided to start dinner. Little did we realize that green clouds were rolling in overhead and within minutes the heavens had opened and the rain began. Not just rain, though, a veritable downpour. We dove into the tent soaking wet and managed to finish our meal inside.

View from top

Bear Mountain views

Bear Mountain from Lake Hessian
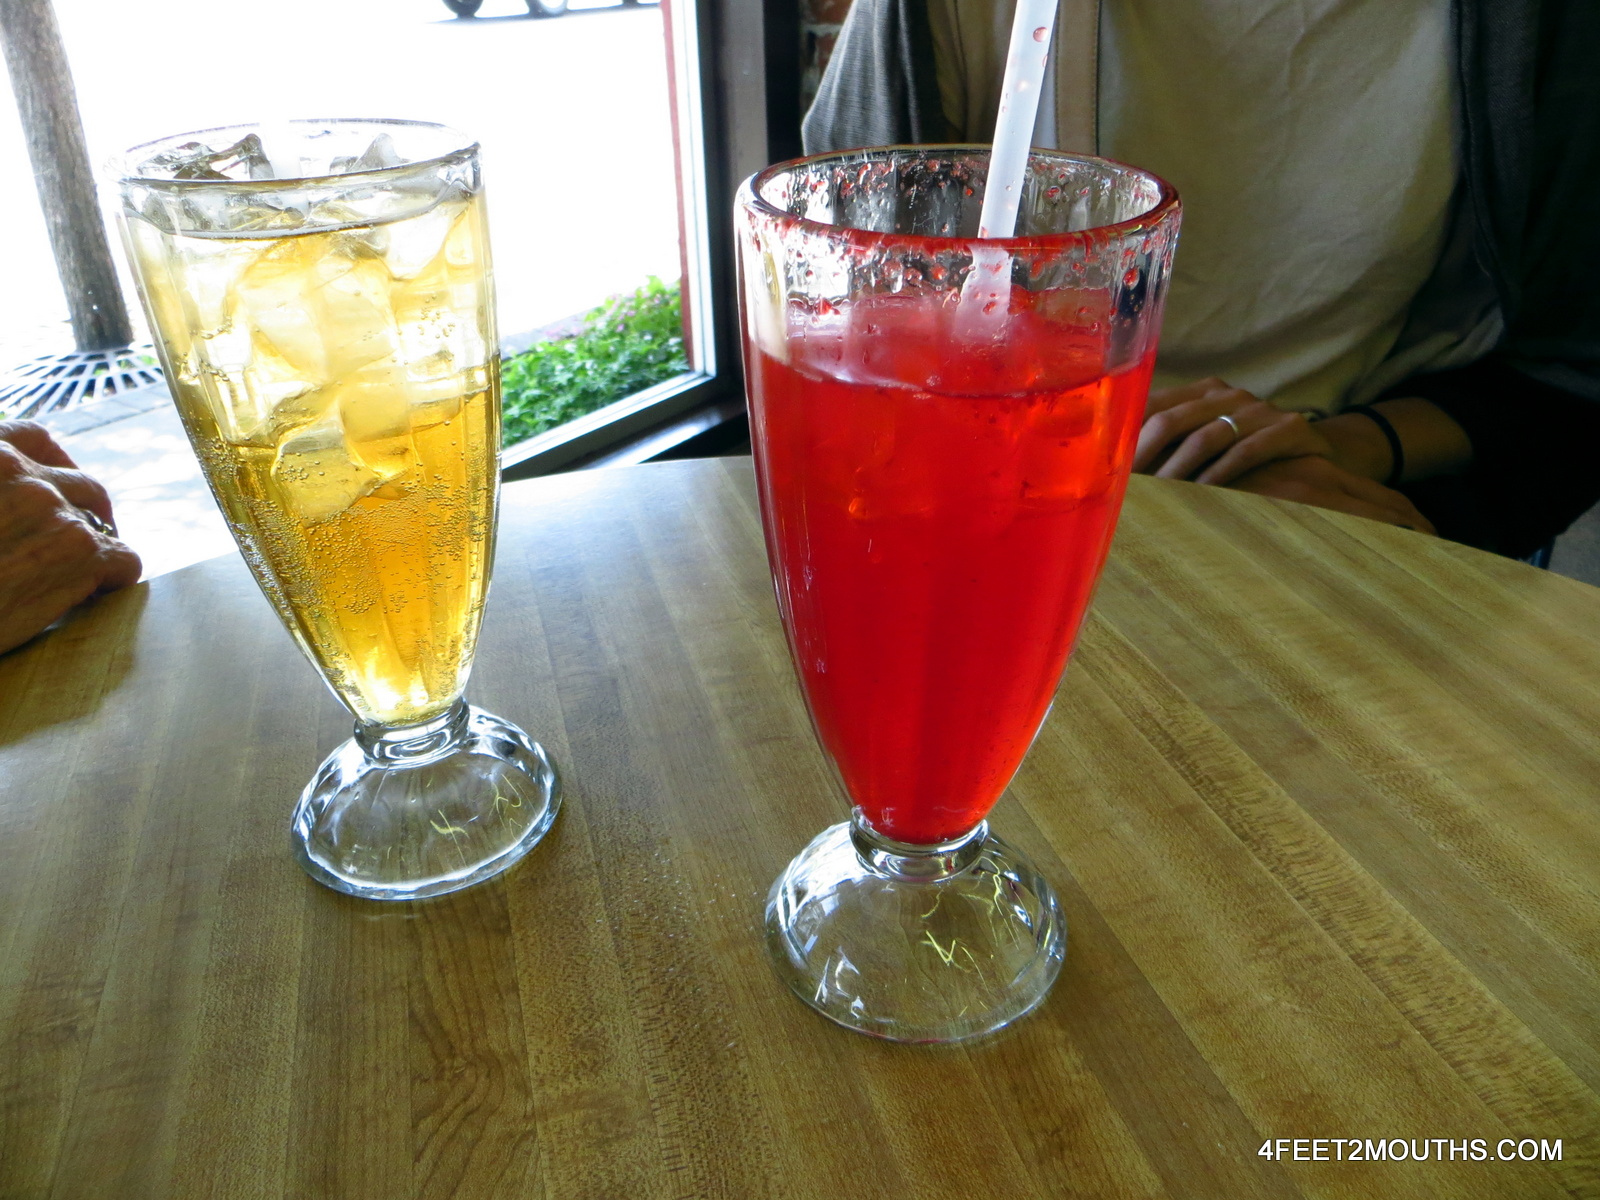
We woke to a sunny day and we trudged up and down the mountains to our destination, the Hudson River. As we came closer to the summit of Bear Mountain, the trail takes on a new atmosphere. Bear Mountain is a popular destination for day hikers from the nearby inn and picnic area. Most of the people we encountered in this area were ill equipped for such a hike – some were even in flip flops. But I admired the perseverance of those who made it to the summit. We descended the mountainside and were jolted by the loud music and huge crowds surrounding the inn and Hessian Lake. The people were incredibly diverse – Arabic-speaking groups gathering around aromatic baked chicken and rice, Latinos blasting salsa music, Asian families bbqing. We grabbed a mint chip milkshake and I lost myself in its sweet creaminess. Basically anything you eat after a big hike tastes amazing and this was no exception.
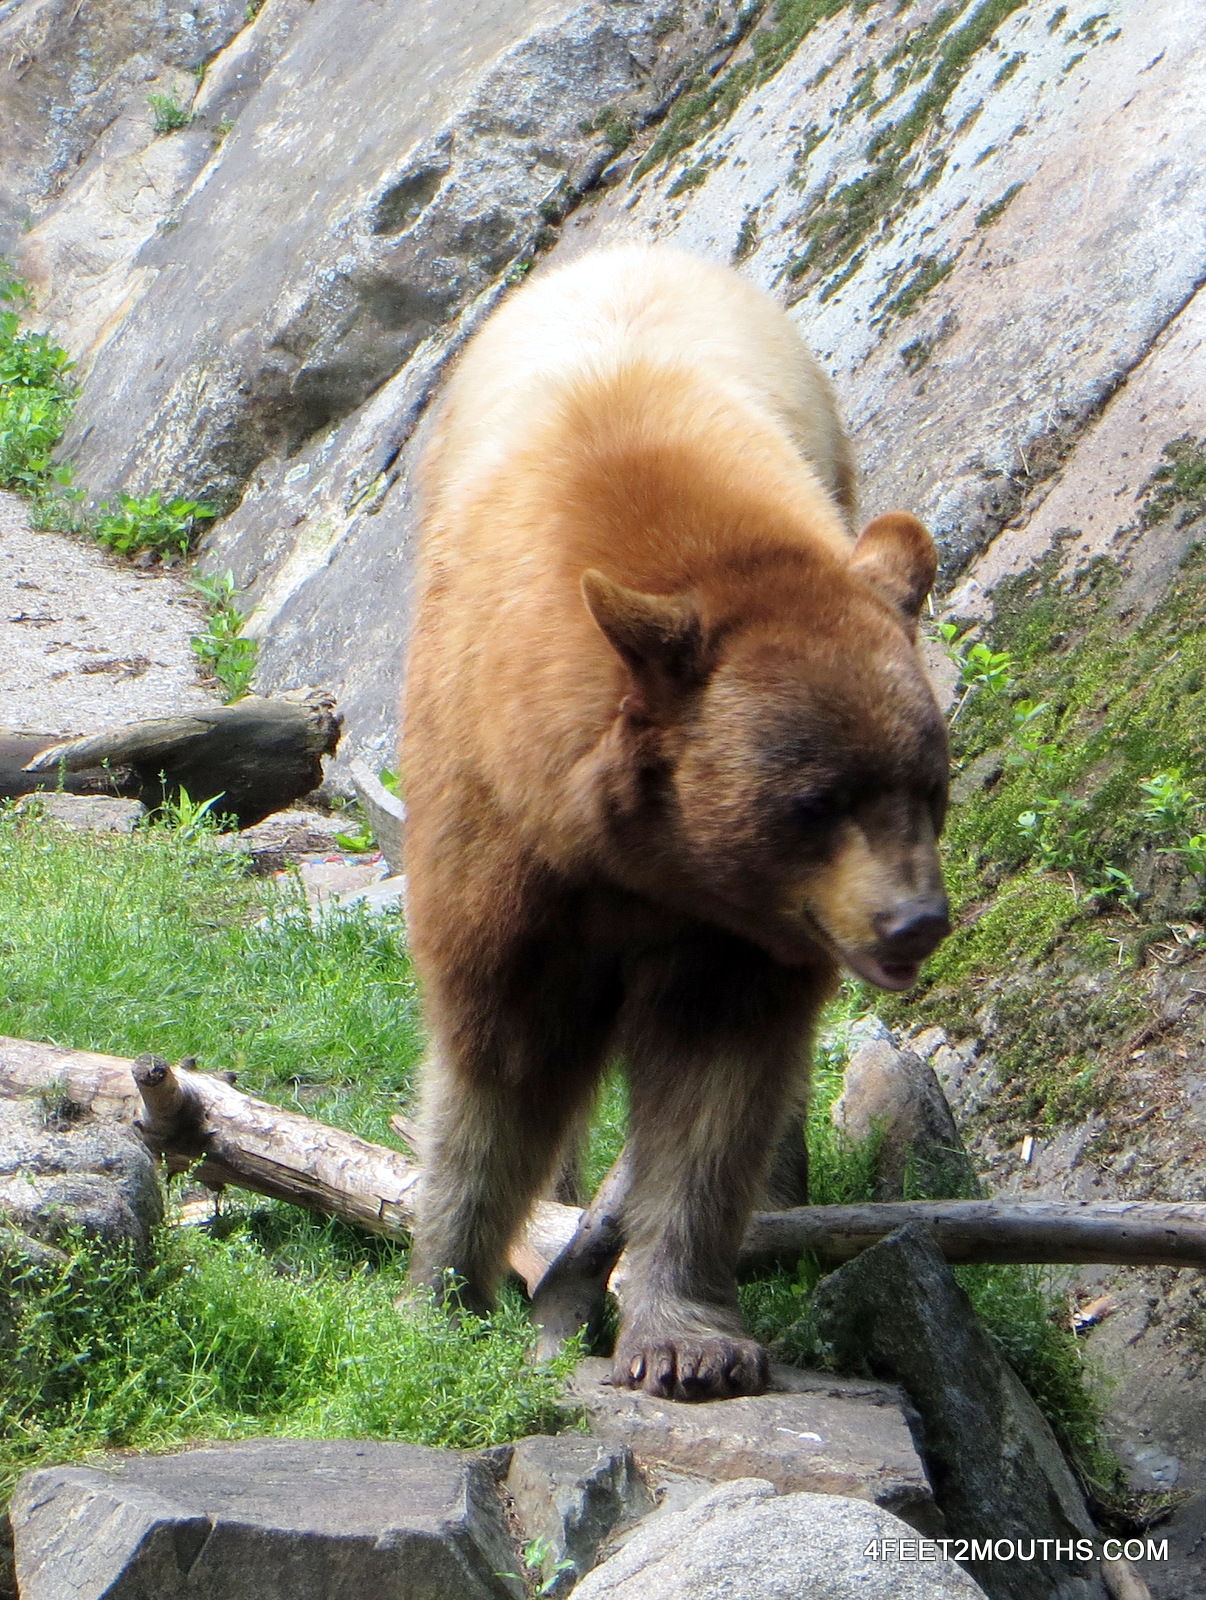
Bears are necessary at the Bear Mountain Zoo
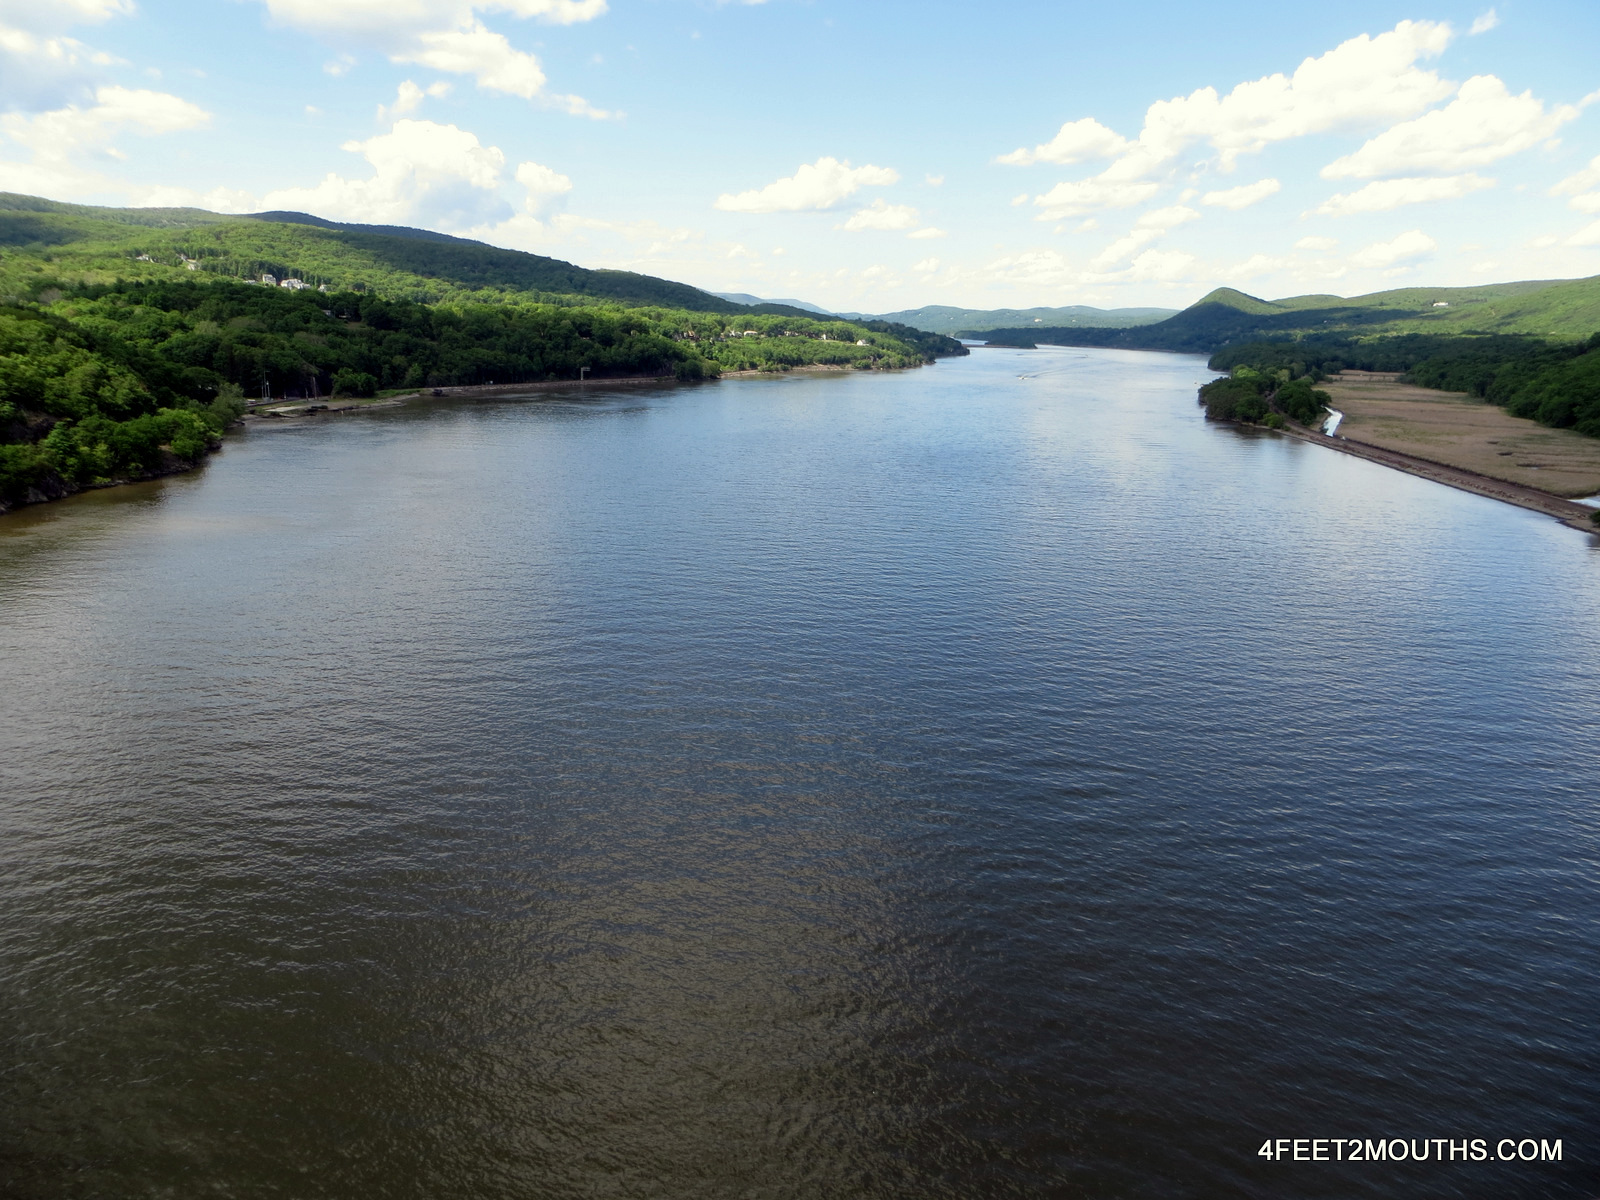
Hudson River from Bear Mountain Bridge
And yet, we weren’t quite done. There were a couple more miles to hike, past a zoo and historic buildings. Since it is along the Hudson River, this area once held strategic forts to protect such an economically important waterway. Finally, we made it to a dusty little train station by the river and were on our way home, grateful to know that an escape to nature could be so close the NYC.